
How to Take a Screenshot on your Mac
Table of Contents
With macOS Mojave, press Shift-Command (⌘)-5 on your keyboard to see all the controls you need to capture still images and record video of your screen. Use these onscreen controls to select whether to capture the entire screen, capture a window, capture a selected portion, or record a video of the screen. (To capture the Touch Bar, continue to use Shift-Command-6.)
After you take a screenshot, a thumbnail of the screenshot appears briefly in the lower-right corner of your screen.
Click Options in the onscreen controls to change these settings:
You don’t need macOS Mojave to use these shortcuts, though they work in Mojave as well.
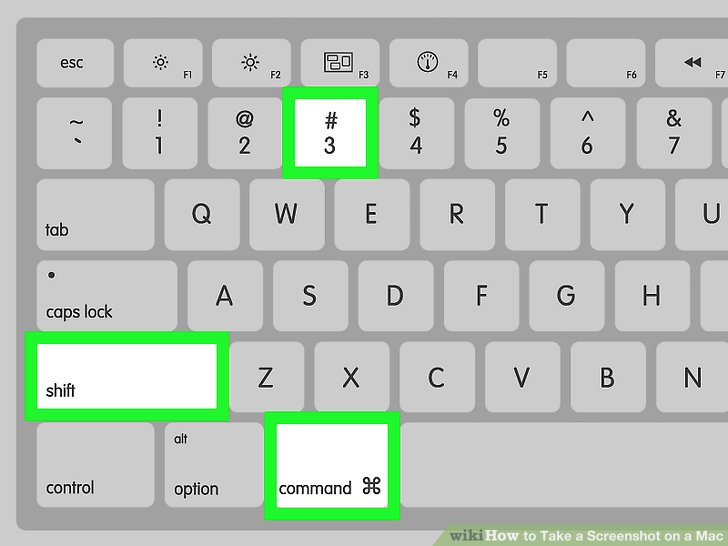
Press Shift-Command-3, then find the screenshot as a .png file on your desktop.
If you have a Mac with a Touch Bar and macOS Sierra 10.12.2 or later, press Shift-Command-6 to capture what is currently displayed on the Touch Bar. Then find the screenshot as a .png file on your desktop.
You can also customize the Control Strip region of your Touch Bar to include a Screenshot button.
Dropped calls, distorted audio, and unexpected lags—these are the kinds of problems that can quickly… Read More
A few years ago, building a brand meant weeks of brainstorming, hiring designers, and refining… Read More
Are you wondering how to streamline your study plan effectively? Do you feel overwhelmed by… Read More
In today’s world, where the digital revolution accelerates by the second, technology is not just… Read More
When your business runs paid ads across multiple platforms—Google, Meta, LinkedIn, and the rest—it’s easy… Read More
Among many students, are you also dreaming of studying in your favorite destination, America? Many… Read More


